
Bowling balls are made from some pretty impressive materials these days, but eventually they will need some tweaking in order to react the way you want them to.
We’ve already written about regular ball maintenance like cleaning, and today’s article will go over another way to improve their performance: adding surface.
What is Ball Surface Modification and What to Expect
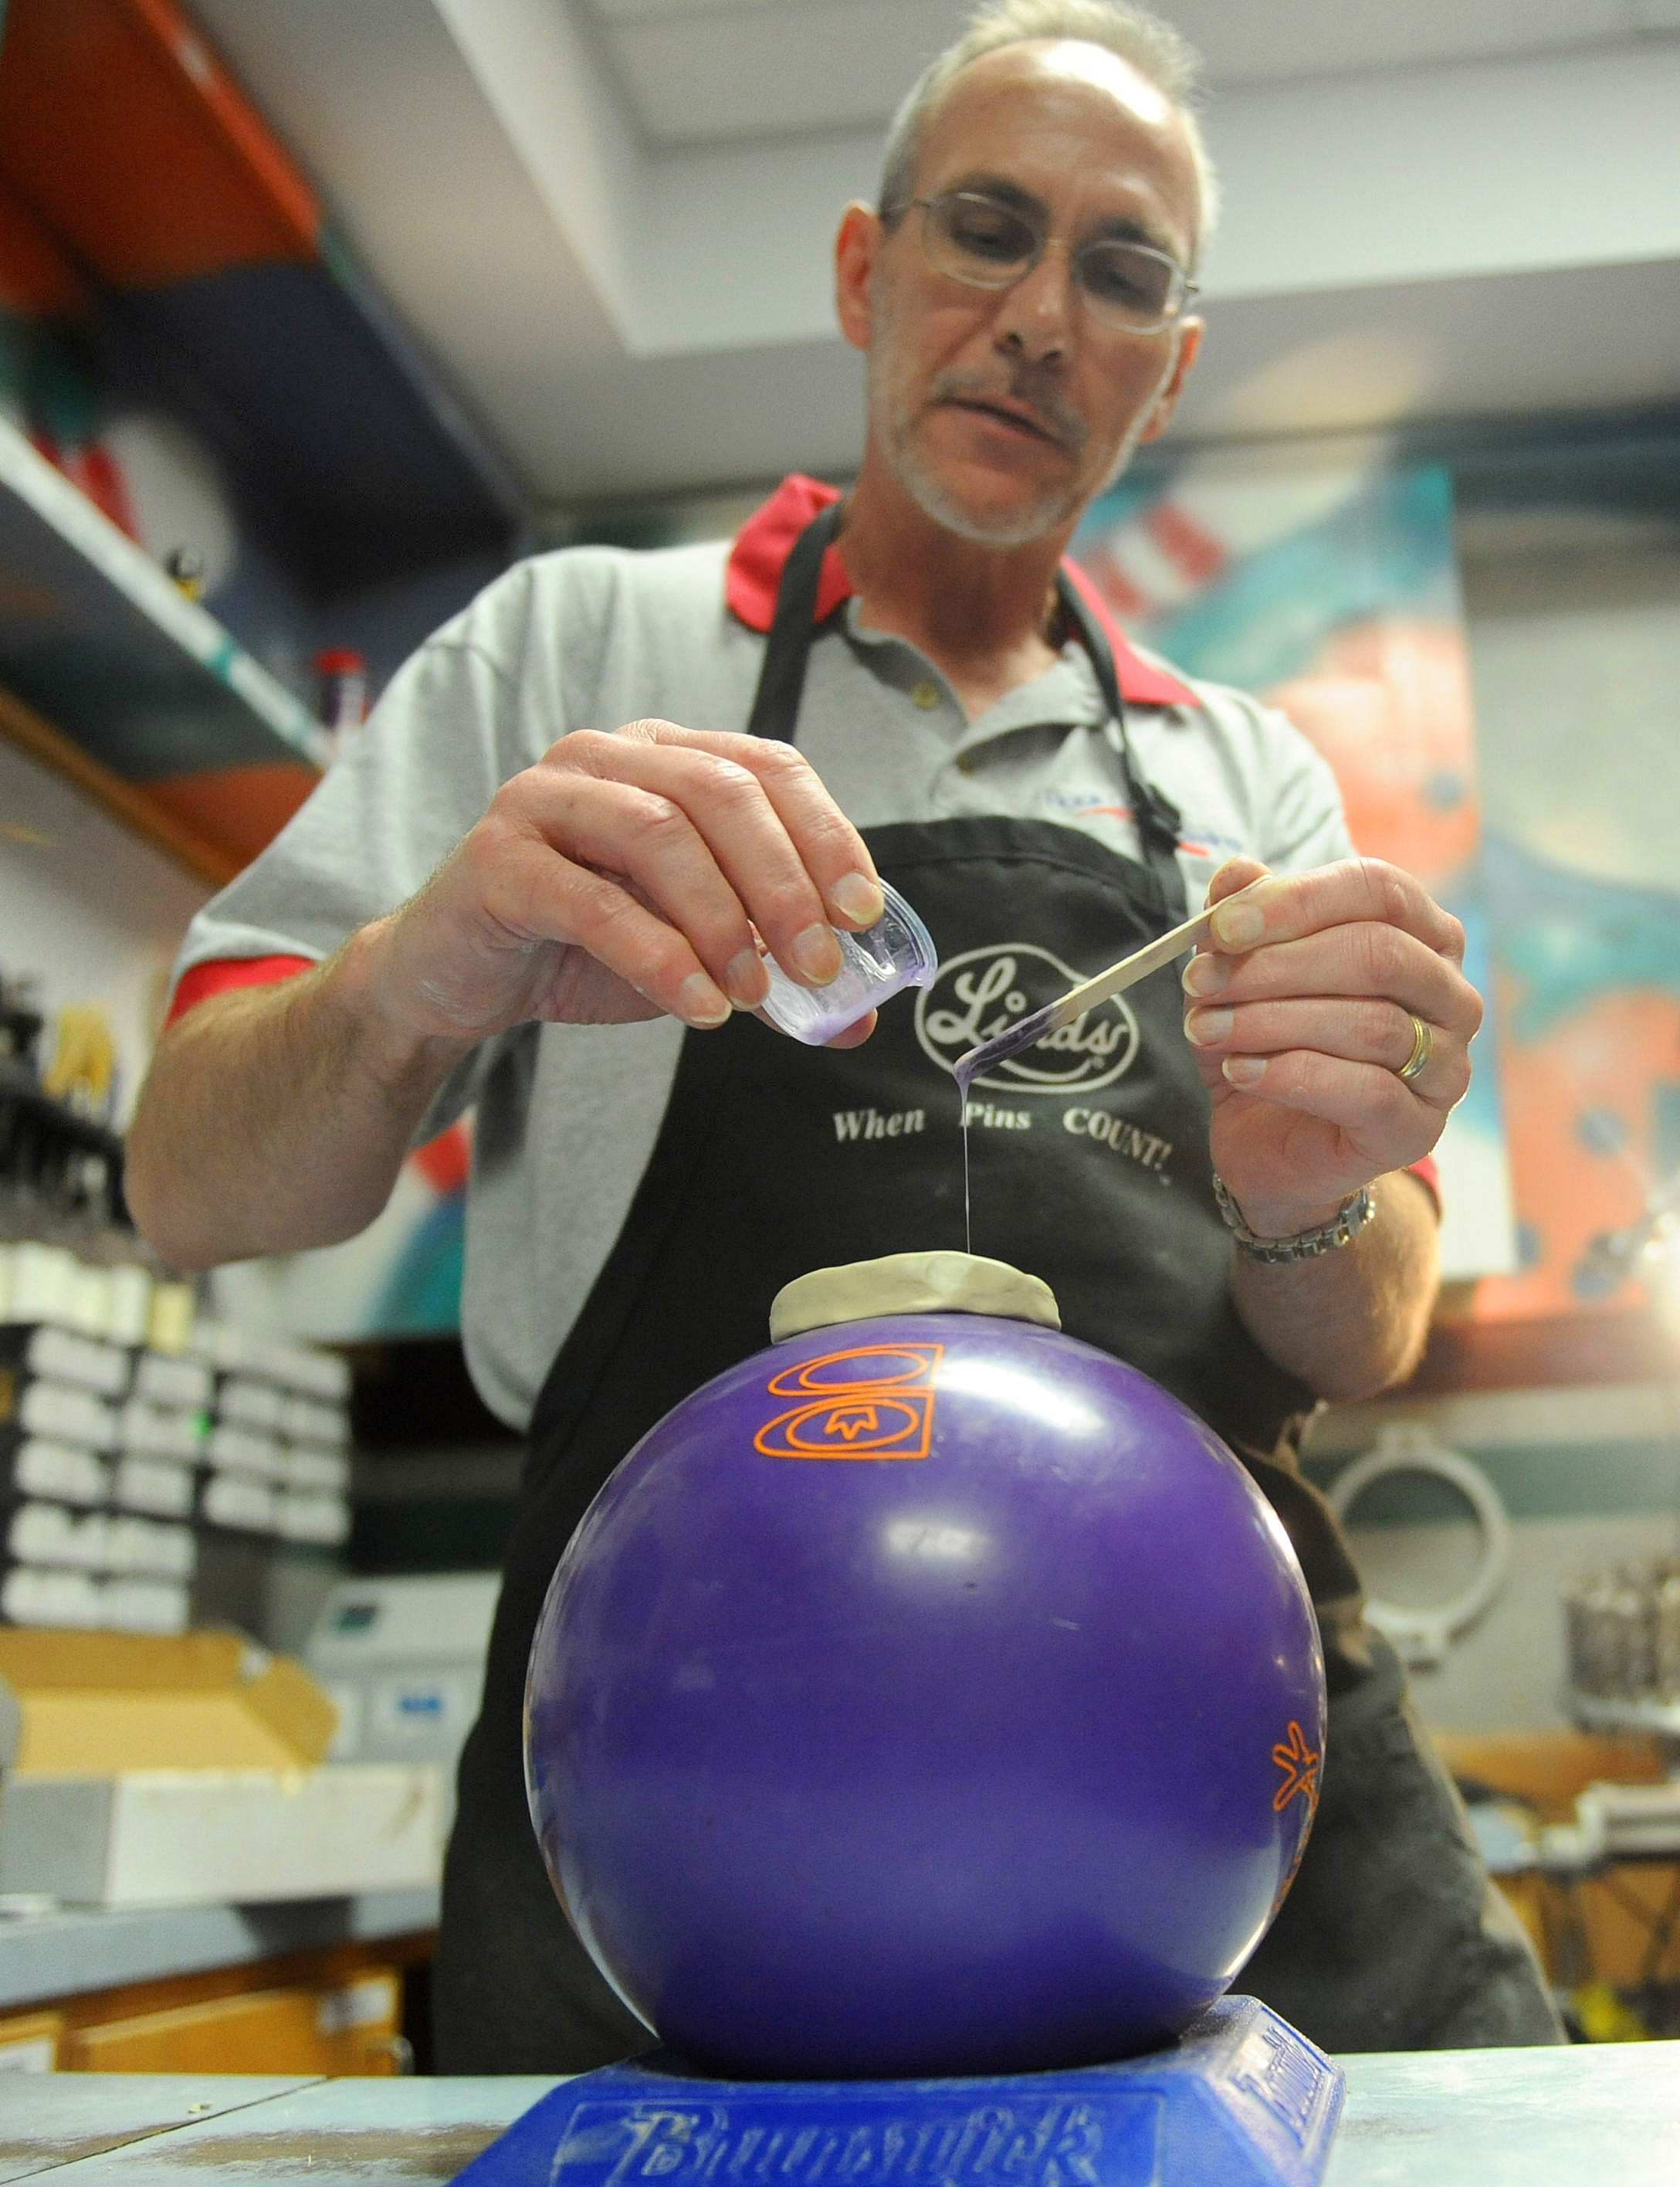
A bowling ball surface modification basically means using a sanding pad on the surface.
Every time your ball travels down the lane, the surface is altered, and over time this can start to have negative effects, from excess oil settling on the ball and giving it a glaze to knicks and chunks that have the potential to really mess up your shots.
On the other hand, the finish that your particular bowling ball is given “out of the box” is by no means the only way way that it can be configured, so sometimes bowlers add surface to achieve a ball reaction that they can’t get any other way.
In many cases, adding surface can help improve your ball’s motion down the lane and lead to more strikes and thus higher scores, so it’s a good technique to be aware of.
How to Get Started Sanding Your Bowling Ball
One key piece of information you need before adding surface to your ball is the grit at which your ball was originally sanded.
You can find this detail on the ball manufacturer’s website. It will usually be listed under “finish” and you will see the grit number the ball was sanded (and sometimes see two numbers, both of which were used to achieve the finish).
Next comes the actual sanding process. Within most bowling organizations it is actually required that you sand the whole surface of the ball, so as to avoid the possibility of gaining an unfair advantage.
You want to start with sanding half of the ball and the top, then flip it over and do the same thing on the other half.
When to Clean and Sand Your Bowling Ball
Adding surface is a more involved process than wiping your ball down with a towel, of course, so you will likely wonder how often you should be sanding your bowling ball.
The following is a good general ball maintenance schedule: clean with a normal ball cleaner after every game, and look to resurface it every 60 games or so.
What’s the Difference Between Higher and Lower Grits?
As a general rule of thumb, lower grit numbers indicate more surface left on the ball, which makes the ball react more easily on heavier oil.
And on the other end, sanding at a higher grit means that more surface gets removed and is usually for medium to dry conditions. This can give you more control and also extends the ball’s hook phase.
It’s also worth remembering that surface adjustments aren’t forever; you can always reverse them if you don’t achieve your desired results!
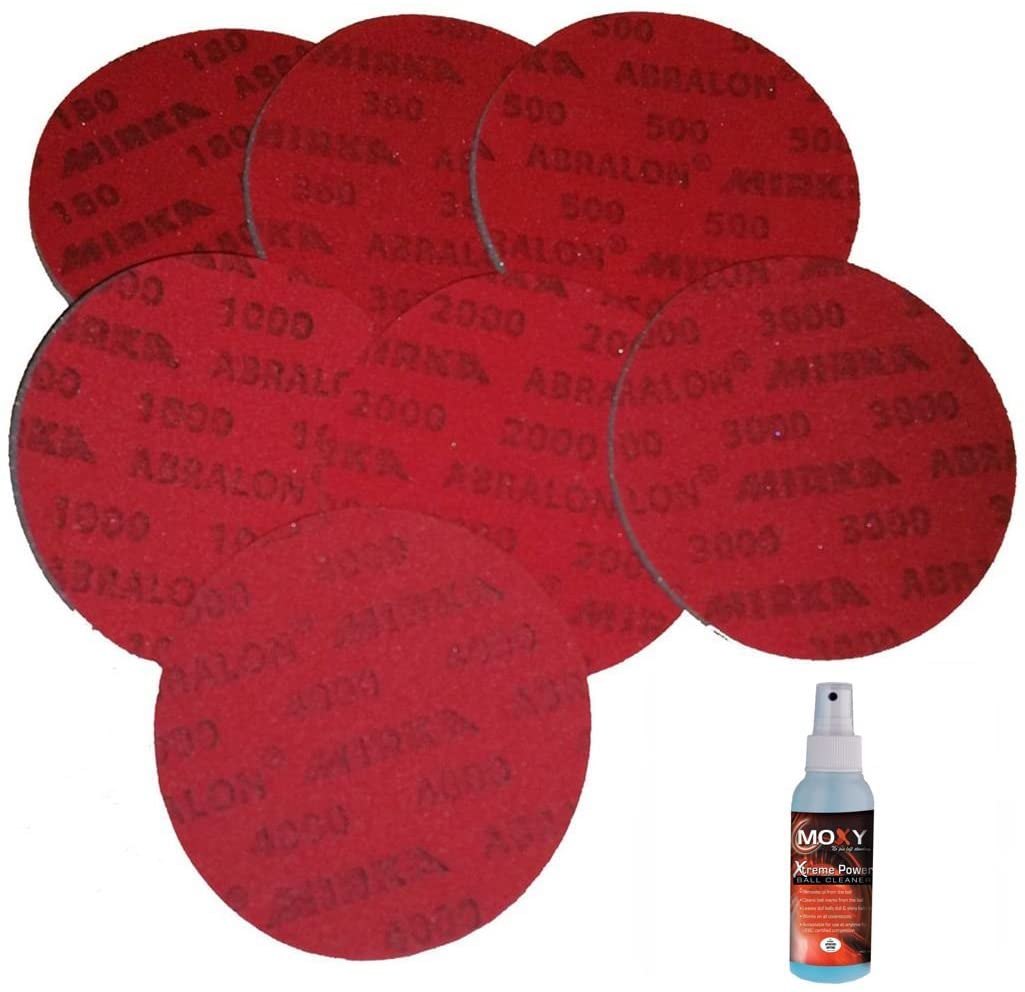
Best Sanding Pads for Bowling Balls
Now that you have the basics on why and how to surface, we’ll get into the best products to do the job.
It is certainly possible to use regular sandpaper to do the job, but there are a variety of pads that are pre-cut into a round shape which makes adding surface a breeze.
Some of the more popular brand names include TruCut and Abralon. When you’re looking at a particular pad, make sure to look for the grit and what you are planning to do, as some packages may include multiple grits while others may be a specific number.
Reading from real bowlers who have used them is a good idea for any product, so we recommend checking out Amazon for reviews and some of the best deals you can find: